Pocket Camera - A PWA which let's you take pictures inspired by the Game Boy Camera
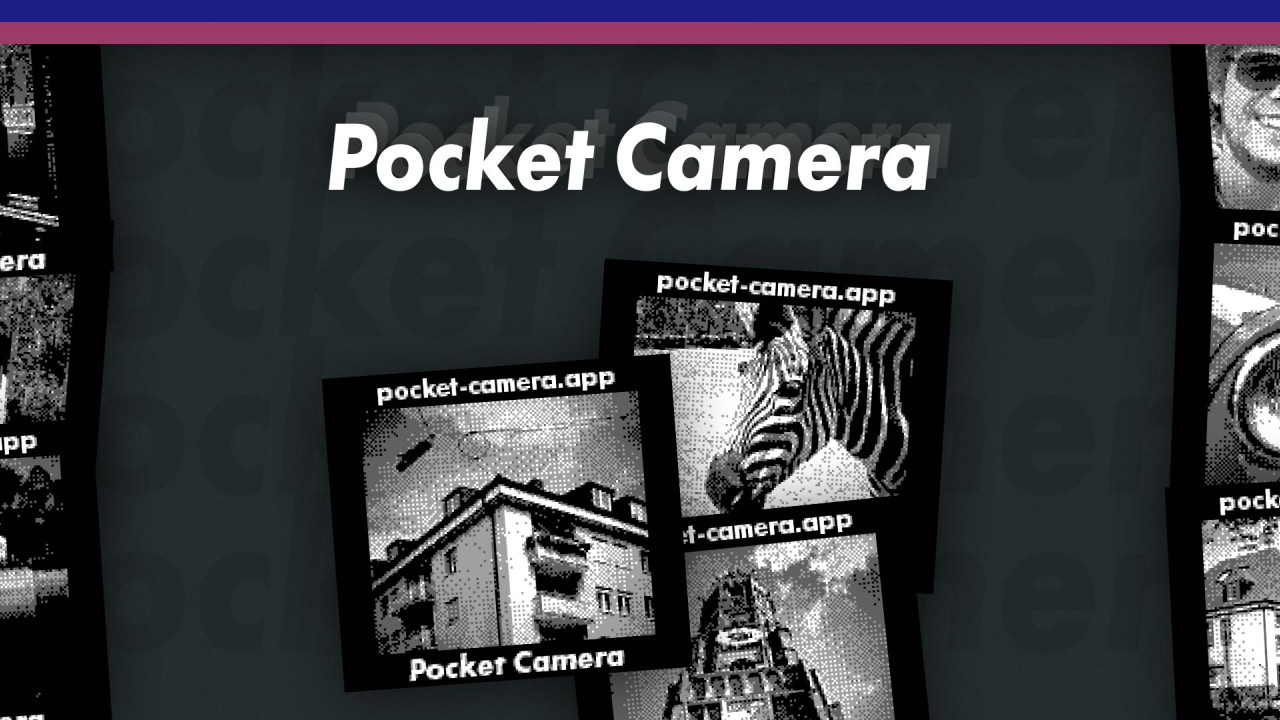
I've finally finished my Game Boy Camera inspired PWA called Pocket Camera. If you just want to mess around with the app you can skip everything below and head straight to the web app: pocket-camera.app
It works 100% offline. Everything is processed on your device.

Backstory
My fascination with the Game Boy started a few years ago after I saw a few pictures online. Coincidentally that was right around the time the Telegram Bot API was published.
Naturally I put those things together and developed my very first public Telegram bot: @GameBoyCameraBot
The idea behind it was very simple: Downscale the image, dither it with four colors, put a border around it and send it back to the user.
In reality achieving convincing results proved to be much more complicated than that and I never really came close to actual hardware with the bot. But I think I finally cracked it!
Game Boy Camera
The Game Boy Camera was an accessory for the original Game Boy handheld released in 1998. The camera could swivel 180 degrees and let you capture the environment as well as selfies. It also held a few minigames and a chiptune music sequencer as well as a few camera modes like mirroring, scaling, panorama and time lapse. You could even edit you pictures with stamps and doodles and connect multiple images with hyperlinks called "hot spots".
It featured a 128x128 pixel CMOS sensor, though it didn't make use of the full 128 pixels vertically but instead reduced the final resolution to 128x112 pixels to make room for a 16 pixel border around it and still fit inside the display resolution of the Game Boy system.
The final image consisted of only four shades of gray, including black and white, and could emulate smooth gradations by the use of a dithering algorithm.
The Telegram bot
It's pretty simple, really. And while it gives off the same vibes and certainly looks the part, at least if you slap the original border with the Nintendo Game Boy logo around it, it's way to basic and doesn't emulate the characteristics of the real hardware too well.
This is how it worked:
- downscale and crop the image to 128x112 pixels
- make it grayscale
- normalize it (fill the spectrum)
- adjust it to increase the contrast and clip the highlights and shadows
- add a bit of sharpening
- dither it with four colors
- add a black border with the original logos around it
- upscale it (without interpolation) by a factor of 8
Because I was using the command line options of ImageMagick I wasn't really able to finetune everything to my liking and for a very long time I thought it was fine. I spent a few months slowly adding new features to it, as I gave up on messing with the actual image processing algorithm after a while.
You could eventually change the brightness and reposition your image inside the frame and pick one out of eighteen frames from the original Game Boy Camera.
The bot saw quite a bit of traffic, too! Sometimes several hundred images each day. I was really proud!
The Web App
Now this is where it gets interesting. Because I couldn't use software like ImageMagick in the browser, I had to do everything myself. That meant more work, but ultimately proved to be much more flexible and let me get much closer to the real thing and after the road block I encountered when developing the Telegram bot I wanted to try this anyway.
The first step was to figure out how to grab the image from the camera or webcam and it was surprisingly pretty simple: Ask for permission and plug the stream into a video element. After that you can plug it directly into the drawImage() function of any 2D canvas context and do with it what you want. I learned the hard way that you cannot hide the video element or move it offscreen on iOS. It'll freeze after the first frame. It drove me nuts!
To downscale it I checked which orientation the camera was in and calculated new dimensions with a negative offset either at the top or at the left side to center it on the canvas. (Pretty much what object-fit: cover; does for you.)
However, when the target canvas is smaller than the source image by a factor of more than two then it introduces sharp aliasing artifacts and since I was using a video it also introduced a lot of shimmering edges. At first I thought I could abuse that as some kind of sharpening filter, but it's dependant on the camera resolution and therefore unpredictable and it swallows a lot of details. To mitigate that I had to downscale it in steps until the resolution difference was less than 2x on each axis. The result was much better!
After that I had to implement some kind of sharpening filter and that's where I had another run in with iOS: On iOS you cannot use SVG filters on canvas elements. They're simply ignored.
I was digging around StackOverflow a bit to see how people usually sharpen their canvases and didn't find anything suitable. My last resort was Pica.js where I could downscale and sharpen in one go. (So the previous paragraph about downscaling is essentially worthless now ...)
Pica.js is very fast and can make use of Webworkers, WebAssembly and createImageBitmap if available. I use the lowest quality and while it's slower than canvas downscaling, it's still very much fast enough and it looks much better.
After that I had to figure out how to do the actual dithering and after a few weeks of headache I finally came to the conclusion that I am too dumb to understand that. I had to look into libraries on npm and after a bit of digging I actually found something incredibly clean and easy to read: ditherJS
In the end Daniels code proved to be still way to complicated for my needs but it helped me understand how dithering can be implemented efficiently. I borrowed a few lines from his code and cooked up my own algorithm which not only dithers the image, but also adds noise in the midtones with a smooth falloff and applies a bit of gamma correction as well as user controllable brightness and contrast modification.
To keep your phone from combusting I've limited the framerate to about 12 fps. It gives it a nice vintage feel of sluggishness as a bonus.
To make the app actually look and feel nice and allow the user to control the various functions, I had to add and style a user interface. I was again "heavily inspired" by the original DMG (please don't sue me ...). I created a logo, an icon and a few other graphics for sharing on social media.
To add offline functionality I added a simple web worker which caches everything and serves the cached files if you're offline.
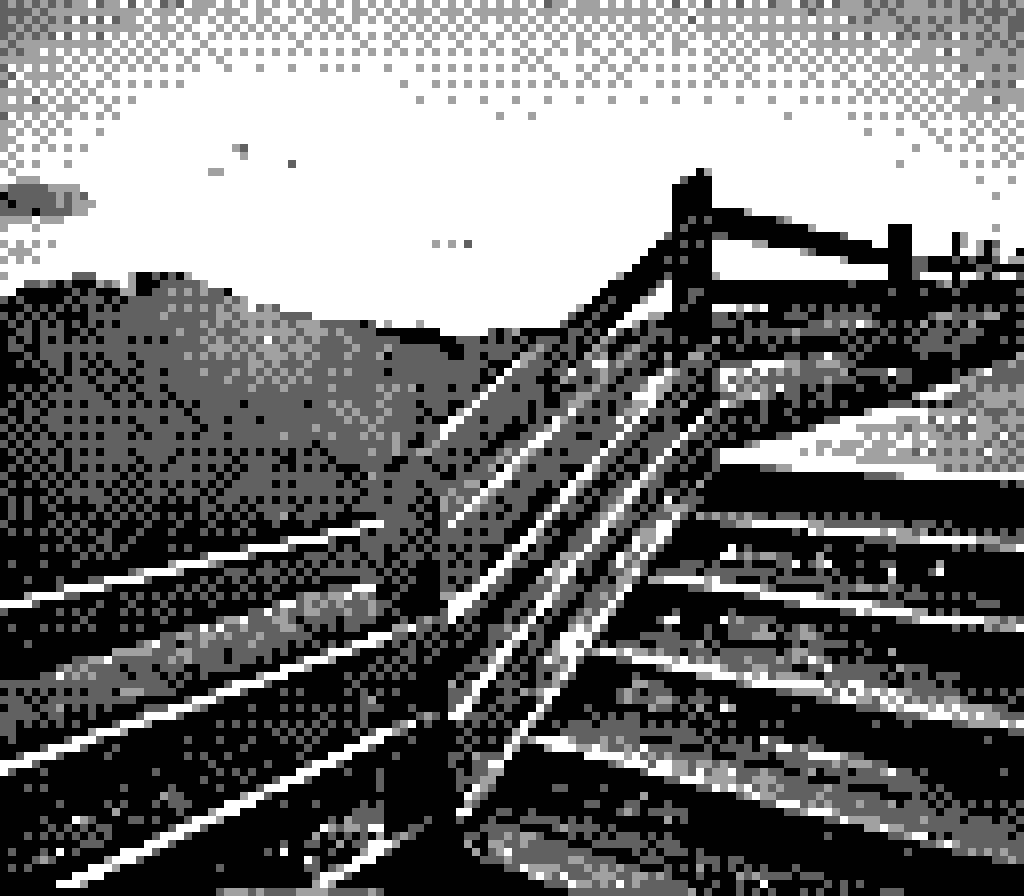
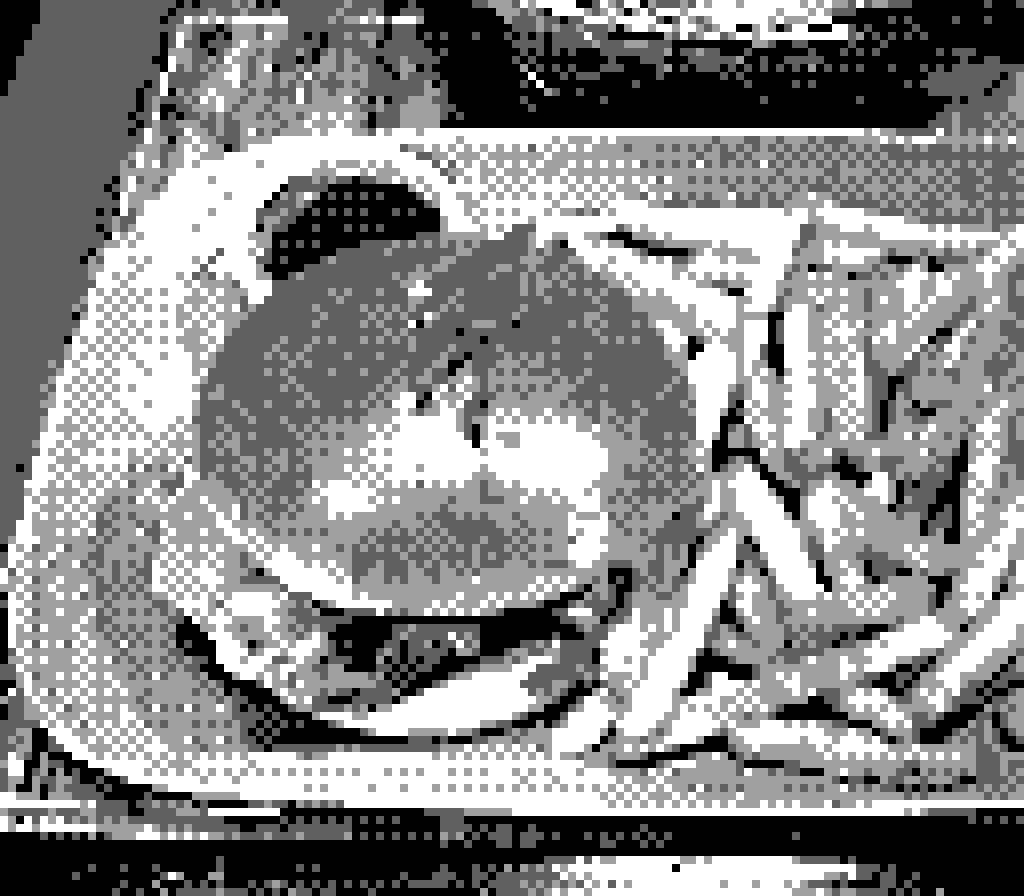
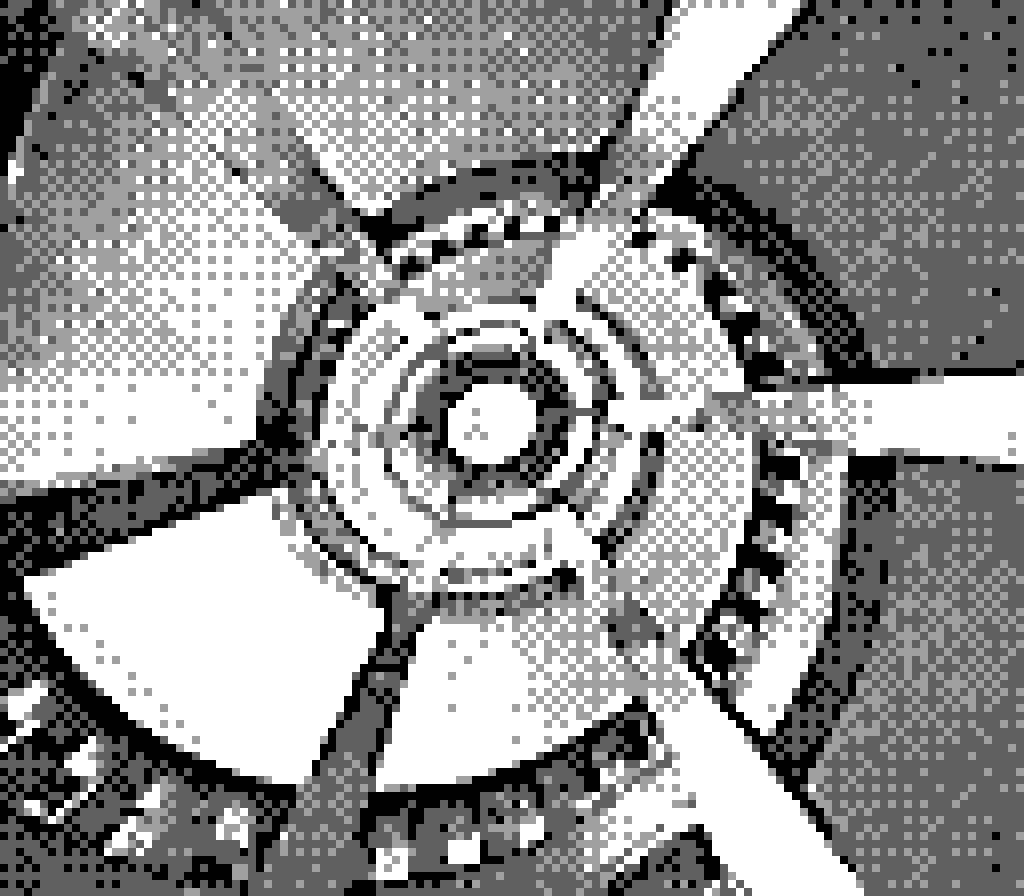
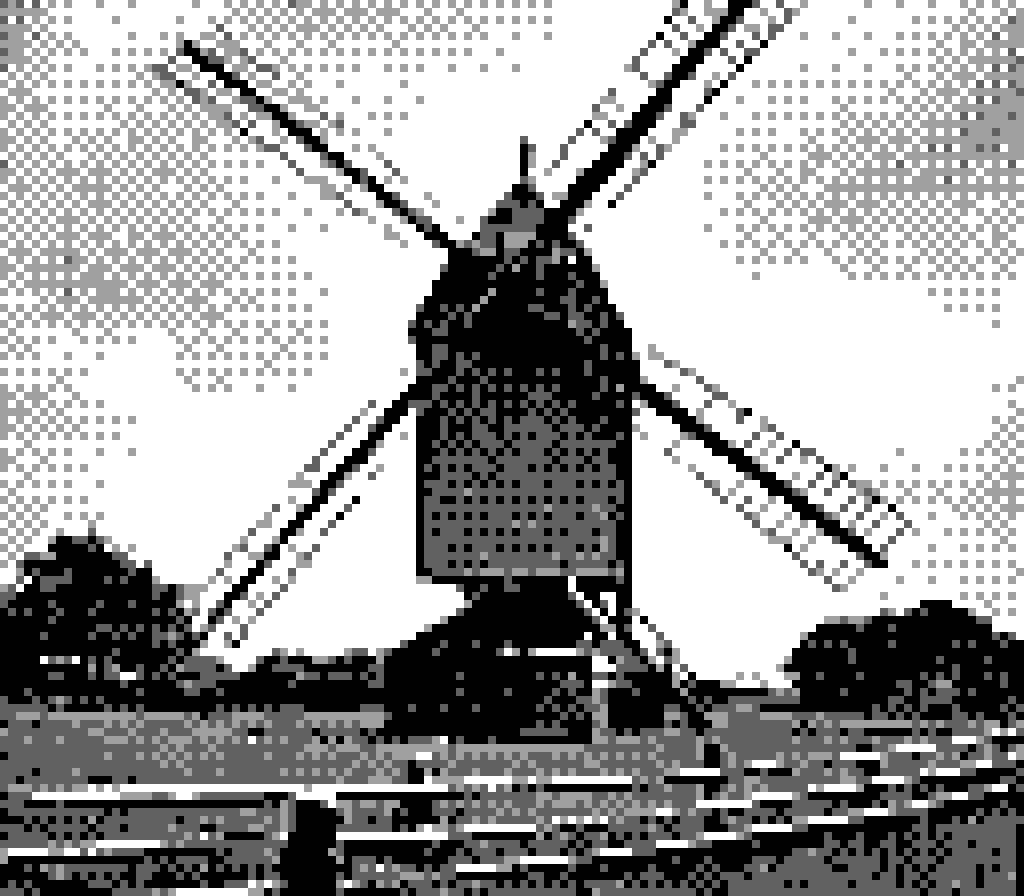
Comparison
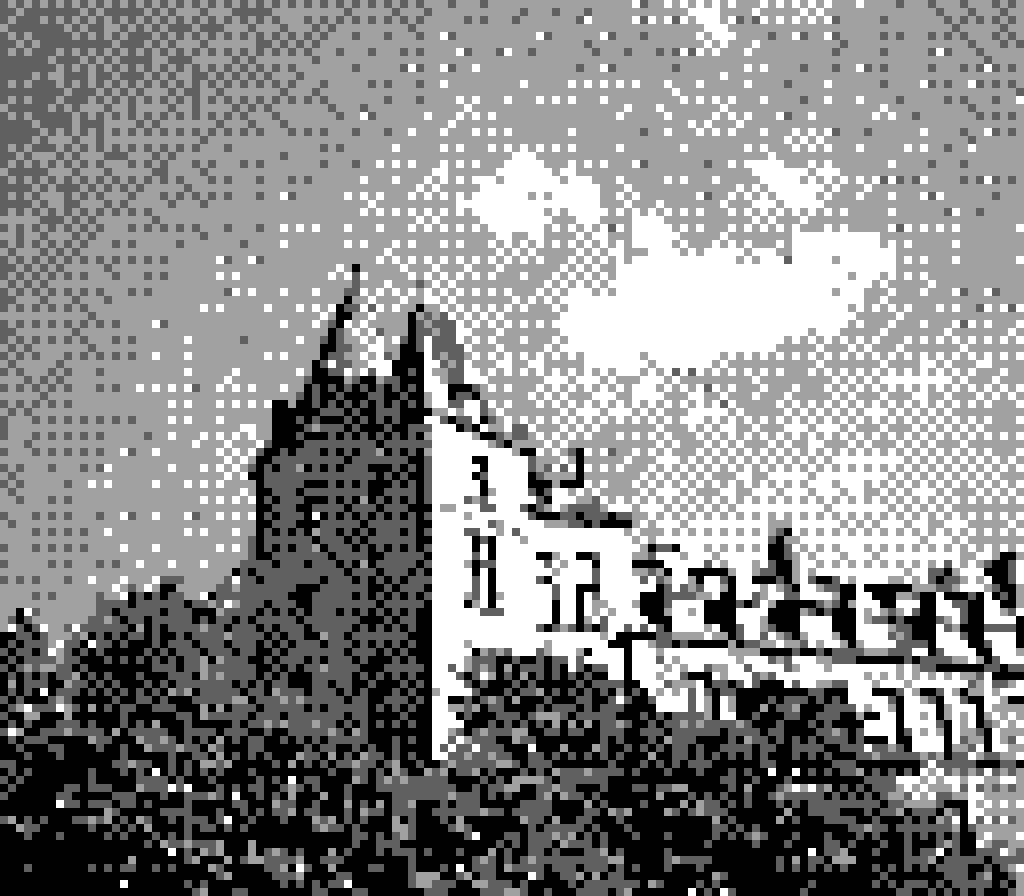
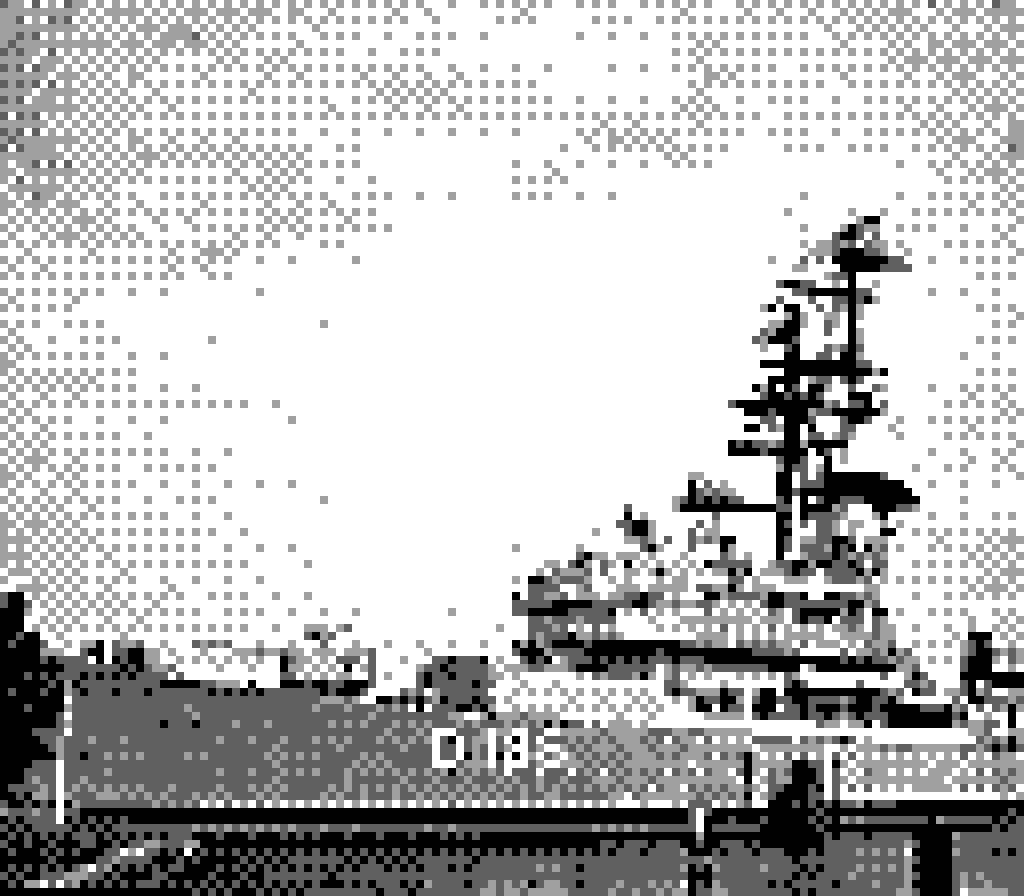
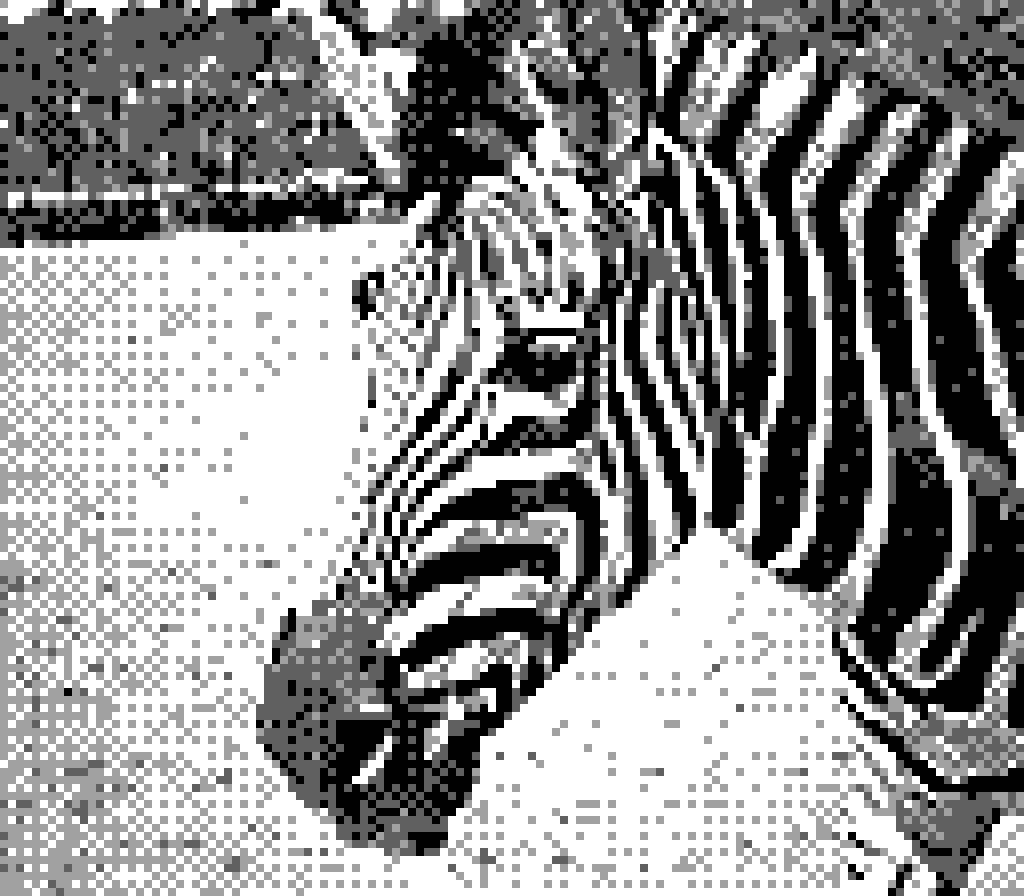
Now let's finally see what we've got: The first image was taken with a real Game Boy Camera, the second one was taken with the new web app today and the third one, just for comparisons sake, was converted with my Telegram Bot somewhere in the middle of its lifespan.


I've tried to get as close to the real thing as possible, without going overboard on sharpening and noise and I think I've gotten pretty close, though I'm sure I will continue to tweak it at least for a little while! If you want to see more pictures taken with real hardware, then check this collection from u/zhx, who also provided the test shot above.
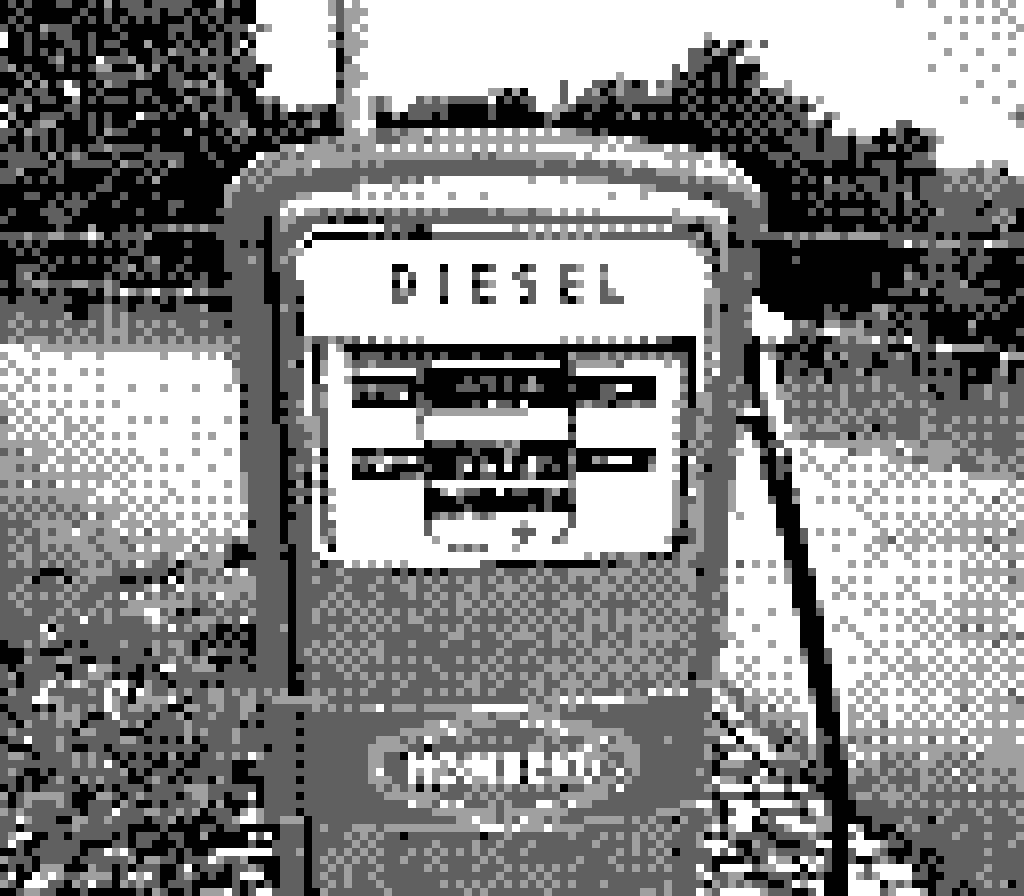
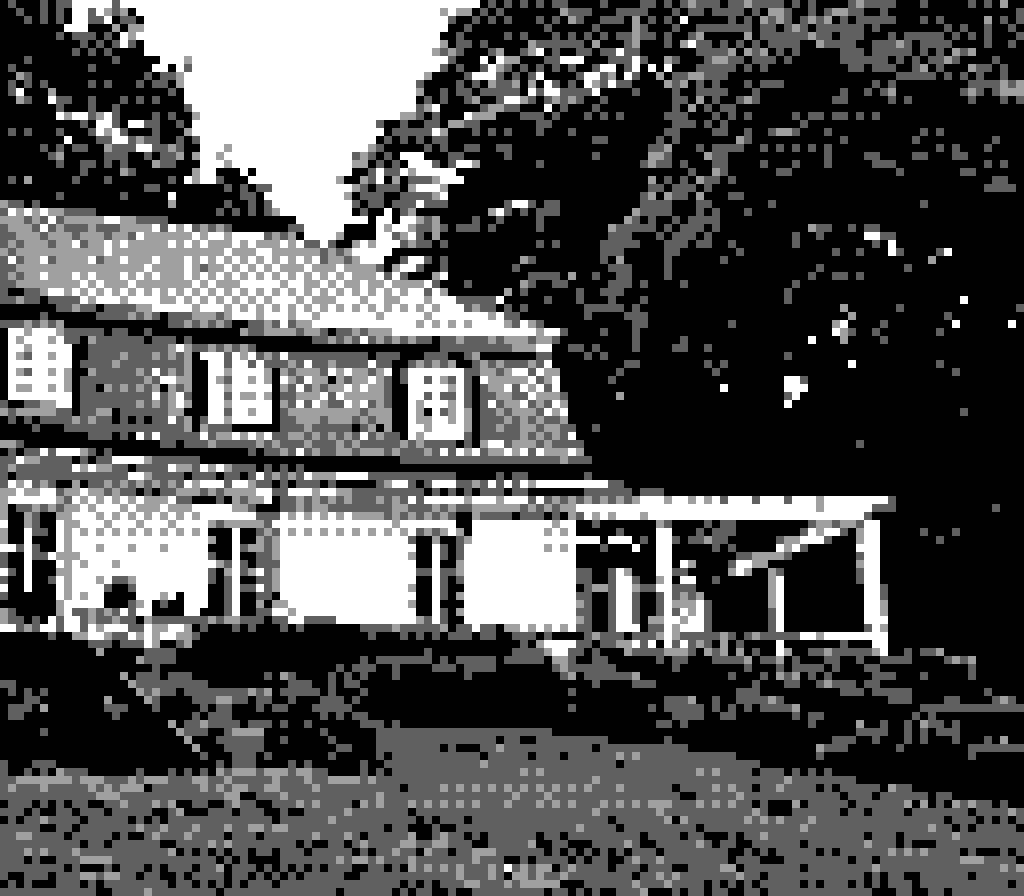
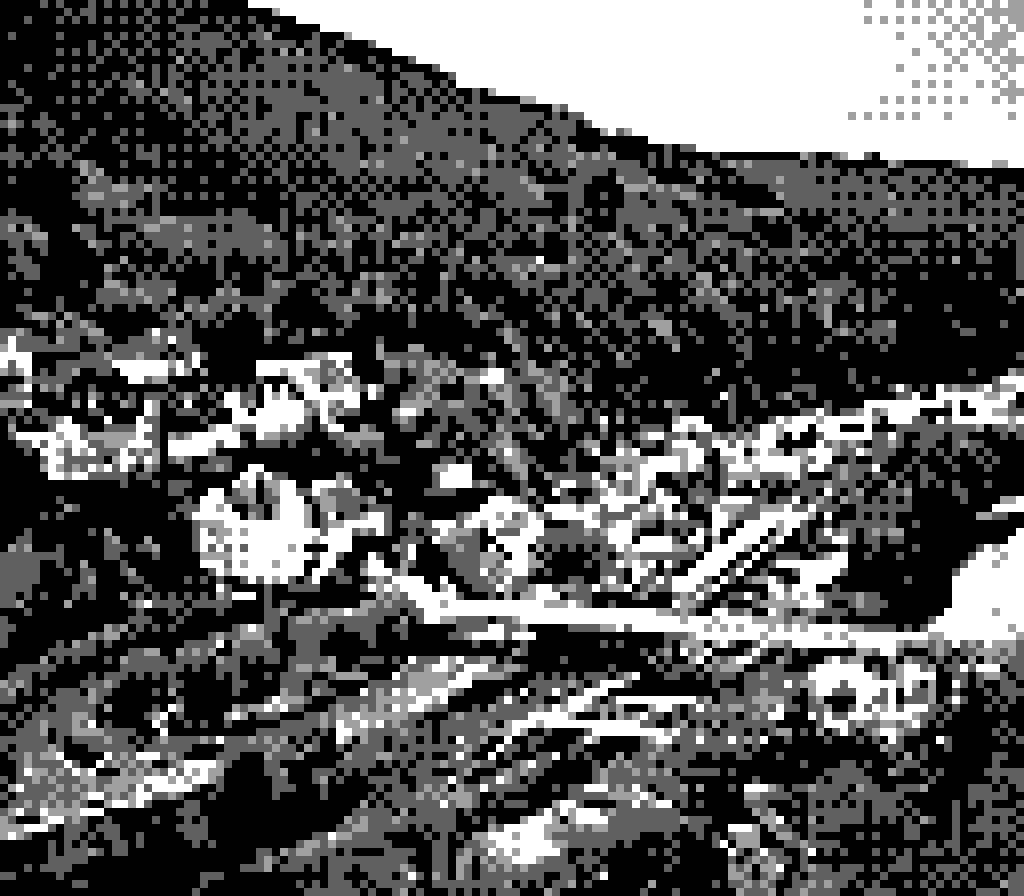
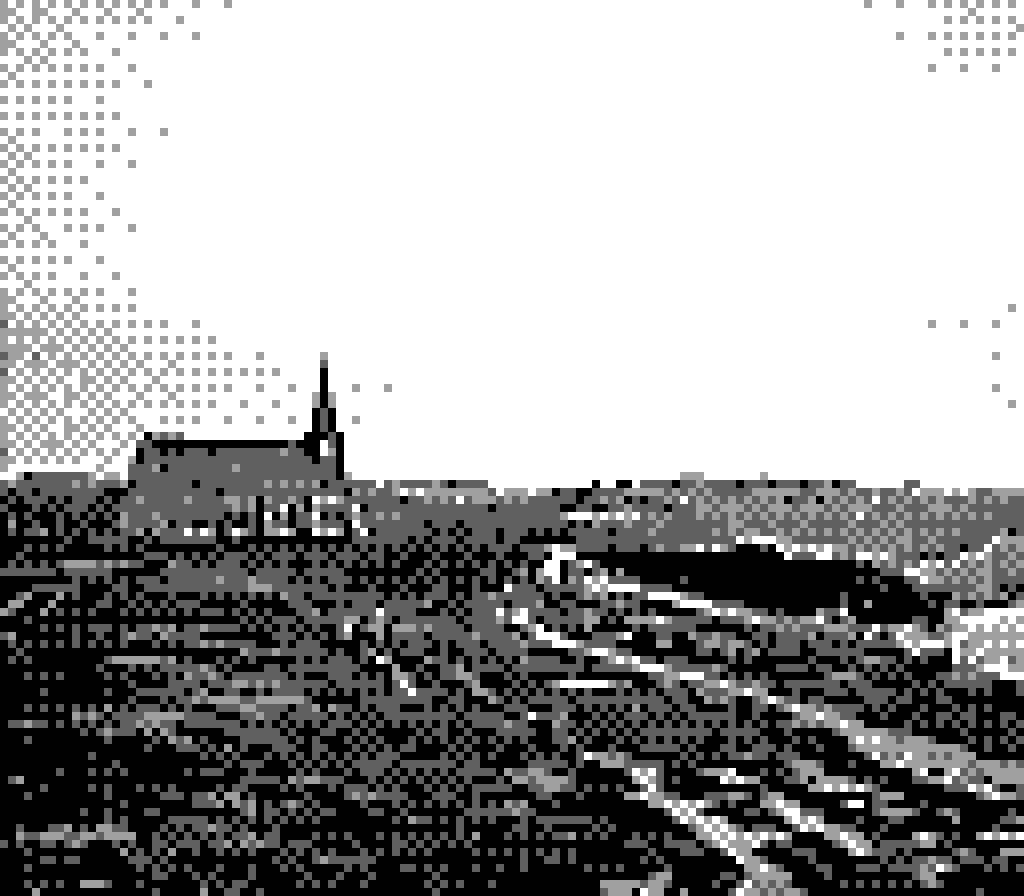
Examples
Here are a few shots taken with the Pocket Camera.
What do you think? Any suggestions for improvements? Any characteristics I've missed? Any bugs you encountered? Leave me a comment here or on reddit!
I'd also love to see what pictures you take with it! Just use the hashtag #pocketcamera so that I can find them easily!